Featured Exercise: Windmill Stabilization
Many people need to start “braced” at the wall of the pool. That means that they lean against the wall, bend their knees, and bring their shoulders under the water.
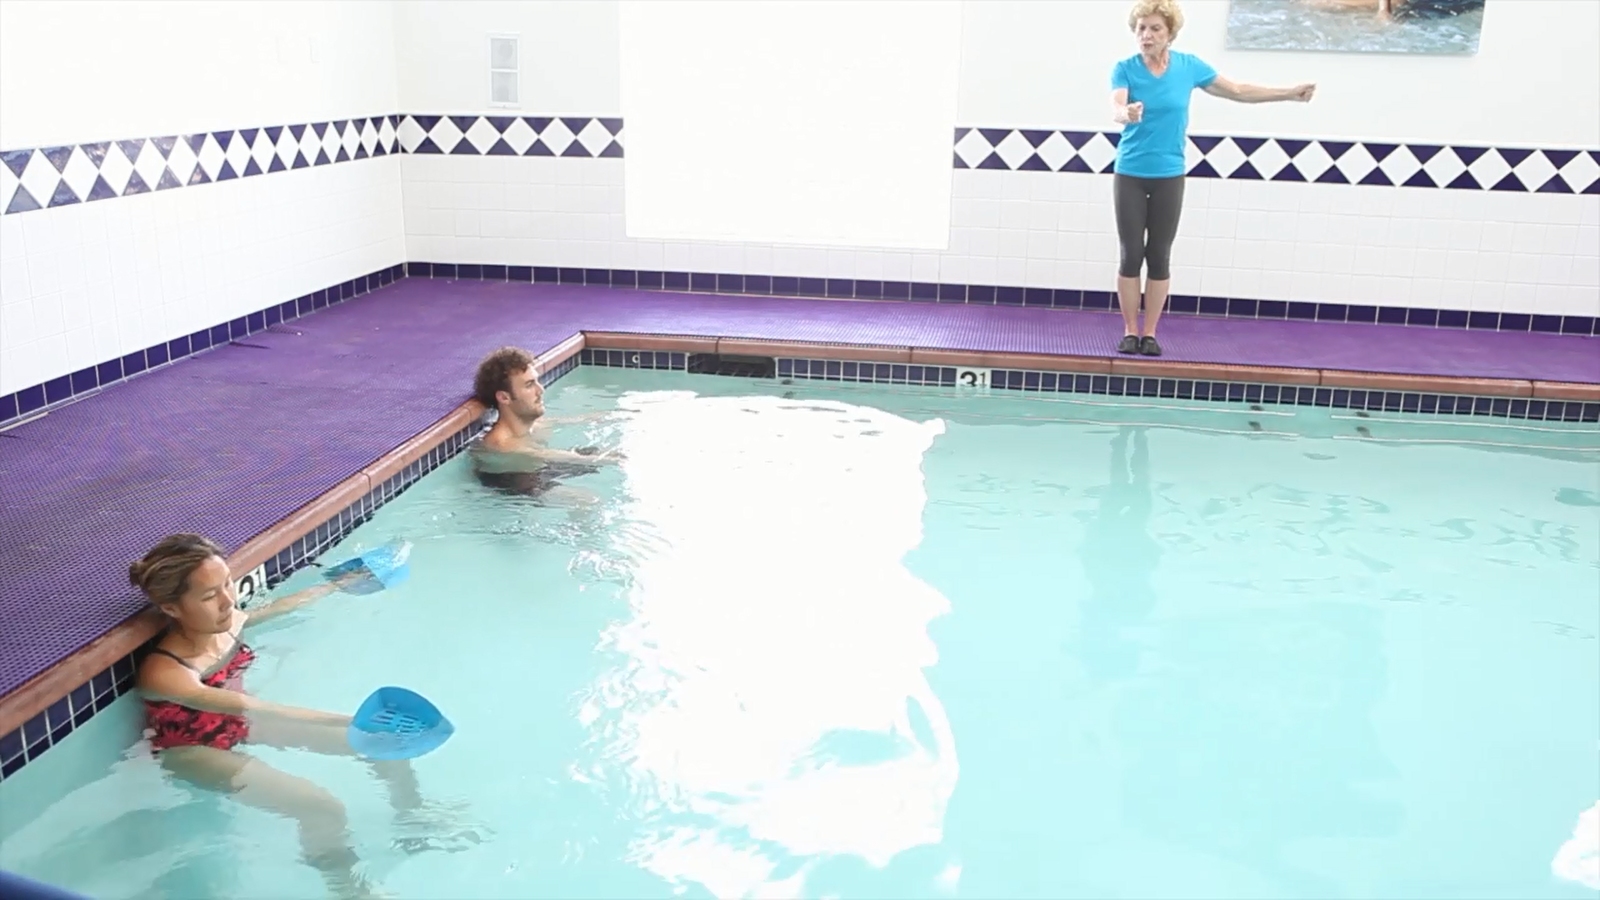
The video shows the advanced, free-standing version of Windmill Stabilization. This is our most advanced and challenging exercise for core strengthening.
They reach their arms straight forward in front of them for the starting position. When they pull one arm to the side, they bring it all the way to touch the wall before returning it to the forward position. The most common mistake you’ll see is someone tilting their head to the side in the direction they’re moving their arm. Have them find a focal point, drop the shoulders, and keep the head in an upright position. Then try to move the arm to the side again using only the muscles that move that arm. No other body parts should move, but you’ll often observe that happening. Keep working to eliminate extraneous movements and maintain focus on tightening the core muscles to stabilize the whole body against the wall.
At first, they will use only the resistance of their own hands and arms against the water. As they gain strength, they’ll add minimal resistance bells and progress up to higher resistance bells as tolerated.
Once they’ve improved their upper body and core strength, they are ready to move away from the wall into the free-standing position. Make sure they’re in deep enough water so they can maintain a neutral spine position with a comfortable bend in the knees. If the water isn’t deep enough, you’ll notice people bending forward in their attempt to get more water depth.
It’s significantly harder to do the upper body exercises away from the wall, so spend enough time in the braced position to get the people you work with strong before asking them to attempt the more difficult version.
100% secure and private. You can unsubscribe at any time